18 May 2022
Planning a school website can seem like a complex task. Our quick guide answers your questions, helping you create a new school website that looks good, functions well and lifts the load from your financial and administrative teams.
Step 1: Plan your project
First you will need to gather your core project team together. This can vary between schools and trusts, but we usually recommend that this includes your final decision maker (often your headteacher or CEO), the individual(s) who will be updating the website and your IT support team. You may also wish to include your bursar / school business manager in the decision.
Before you can pull together a brief, you will need to determine what it is you're looking to get out of a new website project.
Some things that you could think about are, but not limited to;
- What statutory information do you need to have on your school or trust website?
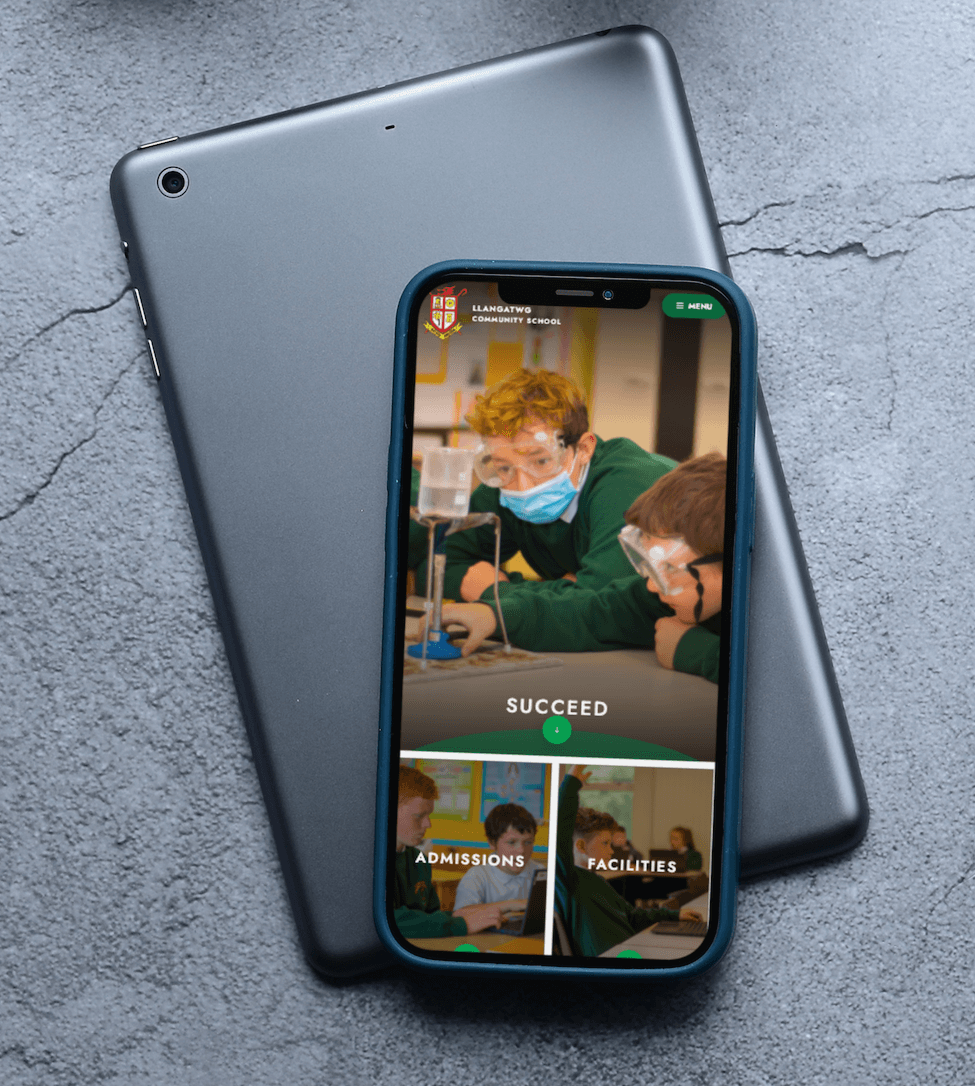
- What is the purpose of your new website? Is it to increase admissions, show off new facilities, promote your academic strengths or something else entirely?
- What issues and pain points do you have with your existing school website?
- Are there any examples of school or trust websites you've seen that you like?
Step 2: Agree your website brief
Once you have established what you are looking for out of a new website, and what your current pain points are, then you can begin to pull together a website briefing document. This outlines all the criteria that you require and any which are non-negotiable or most important to you.
When writing your brief, it can often be an idea to map out the pages you have currently and any functionality that you will require from your new website. Shoot for the moon at this stage - you can always reduce your requirements during the proposal process once you find out what the options are.
A few ideas of elements to consider are;
- Social media integration
- News story & calendar event management
- Content and sitemap editing options
- Course, club and resource booking
- Payment facilities
- Form creation to reduce telephone enquiries
- Integrated communication tools
- Landing pages for entry points / sixth form
Think about the design of your new website. It should be responsive, accommodate simple navigation and allow parents to find what they want within three clicks. You should also consider accessibility issues and the range of people with different needs who may access your site.
Step 3: Choose your website partner wisely
There are any number of providers who can help with your project but choosing one with the right skills and experience is vital. You may have recommendations for local companies, but also consider using a specific school website provider that understands the unique environment you operate within.
All good agencies will be happy to talk to you about your needs and it’s worth taking the time to do so. During the project, you will be working closely with them and you need to establish trust. You don’t want them to bamboozle you with jargon.
Ask for examples of previous websites they’ve designed and built and try and establish:
- If the website is built using their own software or a third party?
- Who will host the website for you and what are the security and cost implications?
- How easy is it for you to update the website yourself moving forwards?
- How much of it can you update once it’s completed?
Step 4: Check your contract thoroughly
Once you’ve chosen your provider you’ll be expected to sign a user agreement, terms of business or contract of works.
Make sure you check for ongoing maintenance and hosting fees. If the content management system (CMS) is owned by the agency rather than a third party, how is this updated, and how do updates affect you and your site?
Step 5: Ensure a robust delivery plan
Your chosen provider should work with you to create a plan that includes key milestones. Agree project responsibilities. Check in regularly with your account team to ensure the project is kept on time and budget. The plan should also factor in a testing phase, as well as a training and handover phase.
Terms and explanations guide:
You may come across some of this terminology during your enquiries:
- Content Management System (CMS)
This is the system used 'behind the scenes' to create and manage your websites’ digital content. - What You See Is What You Get (WYSIWYG)
The ability to edit and create content, when 'logged in' that shows a true representation of how it will look when 'logged out'. - Payment Gateway
An online solution that allows you to take payments quickly, easily and securely. - SSL
Stands for "Secure Sockets Layer”; a secure protocol developed for sending information securely over the Internet. - HTML
Hypertext Markup Language is a standardised system for tagging text files to achieve font, colour, graphic, and hyperlink effects on website pages. - Content
The text, images or video that feature on your website. - CSS
Cascading Style Sheets are used to format the layout of web pages. They can be used to define text styles, table sizes, and other elements of web pages. - Back-End
The technical programming that sits behind your website to make it function correctly. This can include the server, application and database. - Front-End
The user interface and the part of the website visible to users. - Server
The primary function of a web server is to store, process and deliver web pages to visitors
Looking to start a new school website project?
We'd love to work with you and help you through the process, so why not speak to a member of our friendly team today.
- Websites
- Top Tips
You might also like...
New year, new start
A new year (calendar or academic) is the chance for a fresh start. Goals are set, mistakes are relegated to the past and there’s generally a feeling of ‘newness’ in the air. Whether you’re looking for a new school website design, wanting to improve your school newsletter f...
DfE Compliance: Displaying your curriculum on your school website
Your school website is key source of information for parents, students, staff and the community, but there is certain content that you must always have visible on your website, and which will be checked by Ofsted inspectors prior to a visit. We have a full guide to all of these requirements which...